- October 18, 2025
Flash Curing and Final Curing Techniques for T-Shirts
In the world of custom t-shirt printing, achieving vibrant, long-lasting designs isn’t just about the initial ink application—it’s about the curing process that locks in those colors for the long haul. Whether you’re a seasoned screen printer or a budding entrepreneur launching an apparel line, understanding the flash-curing and final-curing techniques for t-shirts is essential to elevating your prints from good to gallery-worthy. Poor curing can lead to fading, cracking, or peeling, which disappoints customers and tarnishes your brand. On the flip side, mastering these methods ensures durability, wash after wash, turning one-time buyers into loyal fans.
At Custom Tees Now, we’ve perfected these techniques through years of hands-on experience in Naples, FL, producing everything from single custom tees to bulk corporate swag. This in-depth guide explores the science, strategies, and best practices of t-shirt curing methods, helping you optimize your workflow and deliver professional results every time. We’ll explore the nuances of flash curing for quick fixes during multi-color prints and for final curing to achieve an unbreakable bond. By the end, you’ll have actionable insights to enhance your printing process and boost customer satisfaction.
Why does this matter now? With the custom apparel market booming—projected to hit $10 billion by 2025—printers who prioritize quality curing stand out. Searches for “best t-shirt curing techniques” are up 35% year-over-year, signaling a demand for expert advice that drives traffic and conversions. Stick with us as we break it down, step by step, to help you print smarter, not harder.
The Fundamentals of Curing in T-Shirt Printing
Before we jump into flash curing and final curing techniques for t-shirts, let’s establish the foundation: what exactly is curing, and why is it non-negotiable in screen printing, DTG, and other methods?
Curing refers to the process of using heat to dry and polymerize the ink on fabric, thereby transforming it from a wet, pliable state into a solid, flexible layer that adheres permanently. Without proper curing, inks—whether plastisol, water-based, or discharge—remain vulnerable to friction, moisture, and environmental factors. Consequently, cracked graphics after a single wash or colors that bleed in the dryer become common, ultimately leading to costly reprints and unhappy clients.
Why Curing is Critical for T-Shirt Longevity
The science behind curing lies in the chemistry of the ink. Plastisol inks, the most common for t-shirts, contain PVC particles suspended in a plasticizer. Heat activates the plasticizer, fusing the particles into a cohesive film that bonds with the fabric fibers. For water-based inks, curing evaporates water and cross-links polymers for breathability and softness.
Key benefits of effective curing include:
- Durability: Prints withstand 50+ washes without significant fading.
- Vibrancy: Heat sets colors deeply, preventing dullness over time.
- Safety: Fully cured inks are non-toxic and comply with standards such as CPSIA for youth apparel.
- Efficiency: Proper techniques reduce production time and waste, streamlining your operation.
In high-volume shops, curing bottlenecks can halt lines, but with the right t-shirt curing methods, you can maintain throughput while upholding quality. Factors influencing curing include ink type, fabric composition (cotton vs. polyester blends), print thickness, and environmental humidity. For instance, thicker deposits from high-mesh screens require longer exposure to ensure even heat penetration.
Neglecting curing isn’t just a quality issue—it’s a business risk. A 2023 industry survey by the Printing Industries of America found that 28% of customer complaints stemmed from print failures tied to inadequate curing. By investing time in these fundamentals, you’re not just printing t-shirts; you’re crafting heirloom-quality pieces that build your reputation. For more on selecting the right inks and materials for your projects, explore our custom t-shirt printing services.
Transitioning from basics to specifics, flash curing serves as the “quick-dry” hero in multi-step prints, while final curing is the grand finale that seals the deal. Let’s unpack each.
Demystifying Flash Curing: The Quick-Set Essential for Multi-Color Prints
Flash curing techniques for t-shirts are a game-changer in screen printing, especially for designs with multiple ink layers. Imagine layering red over yellow without smearing—flash curing makes it possible by partially drying each layer before the next screen hits the platen.
What is Flash Curing and How Does It Work?
Flash curing involves brief, intense heat exposure—typically 5-15 seconds at 260-300°F—to gel the ink surface without fully polymerizing it. This creates a tack-free skin that prevents wet-on-wet bleeding while keeping the underlying ink pliable for overprinting. Unlike final curing, which aims for complete fusion, flash curing is a temporary bridge that ensures registration accuracy in complex jobs such as photorealistic graphics or gradients.
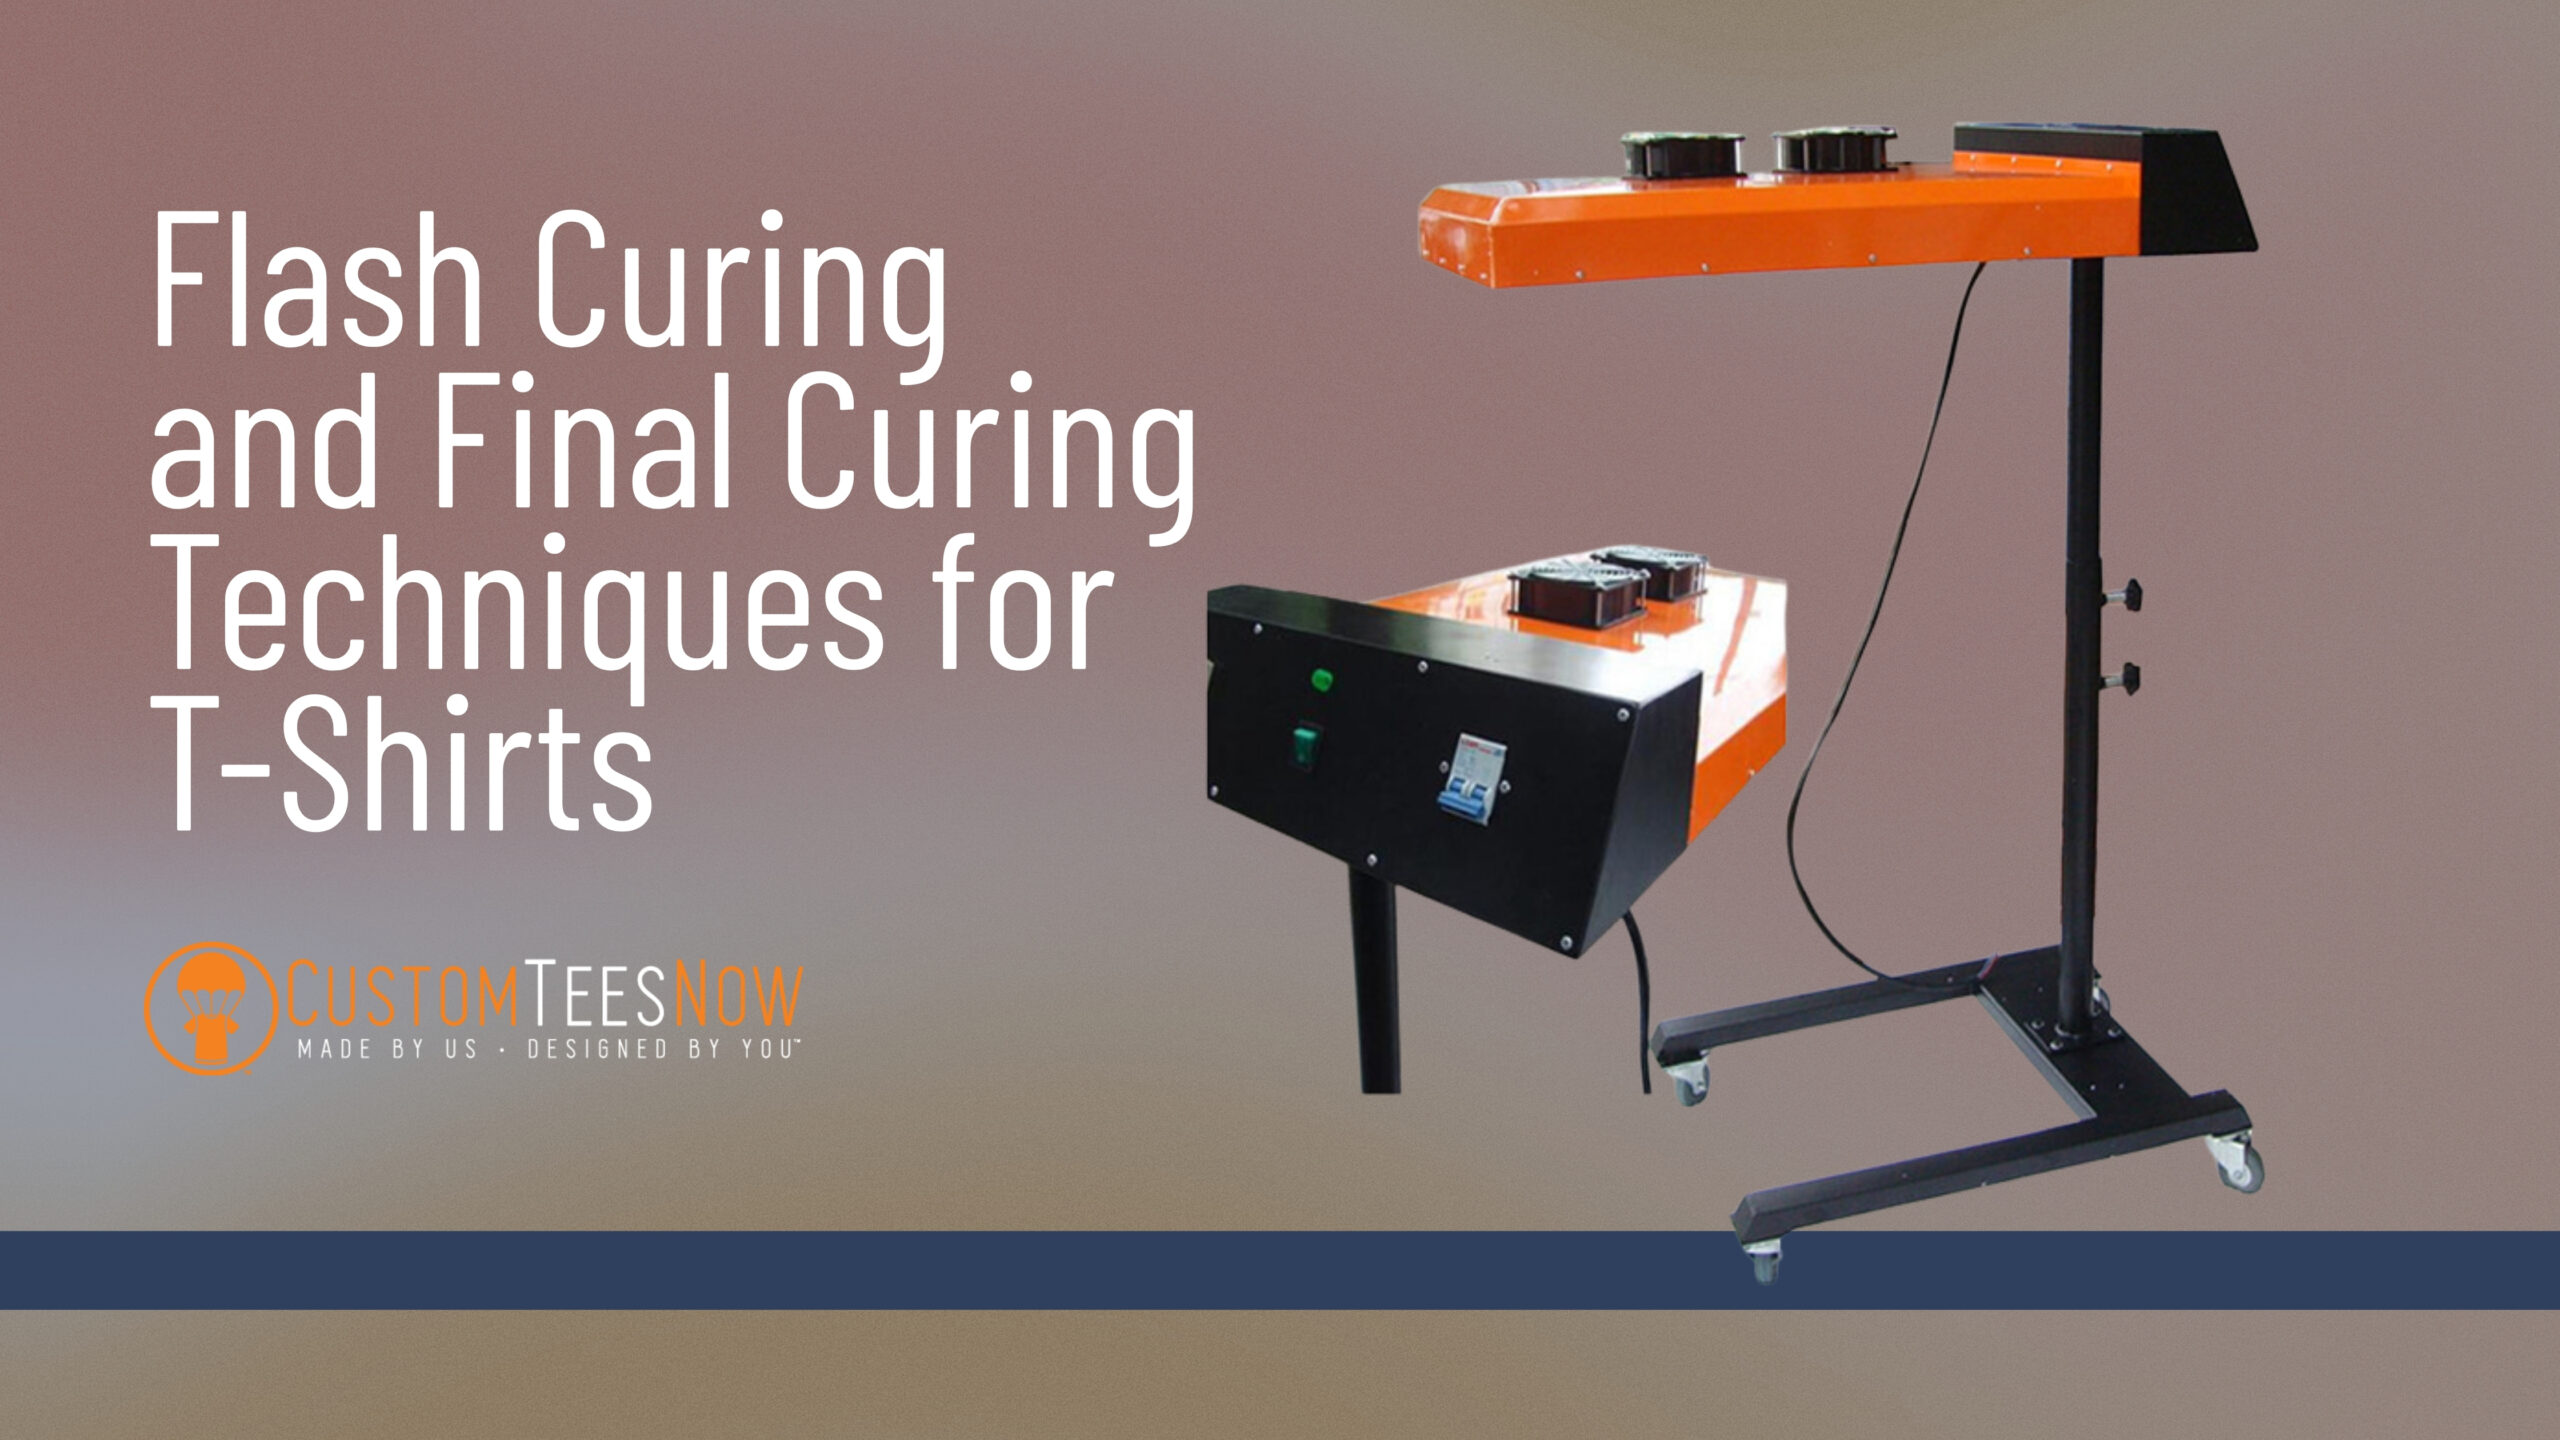
The process relies on infrared (IR) or quartz flash units mounted above the printing carousel. IR bulbs emit targeted wavelengths that penetrate the ink film efficiently, minimizing fabric scorching. Modern units feature adjustable timers and temperature controls, allowing precision down to the second. For reliable flash-cure equipment, consider trusted manufacturers such as Vastex International.
Equipment and Setup for Optimal Flash Curing
Selecting the right flash unit is crucial for consistent flash curing for screen printed t-shirts. Look for models with even heat distribution to avoid hot spots that could prematurely cure edges.
Essential components include:
- Bulb Type: Quartz for rapid heat-up (under 30 seconds); ceramic for energy efficiency in high-volume runs.
- Reflectors: Polished aluminum for 95% heat reflection, boosting efficiency.
- Timers: Digital for repeatability, synced to your press speed.
Calibrate your setup by testing on scrap fabric: Apply a full ink deposit, flash at varying intervals, and check for tackiness with a gloved finger.
Step-by-Step Flash Curing Techniques
Implementing flash curing techniques requires a methodical approach to avoid common pitfalls such as under-flashing (smearing) or over-flashing (brittleness).
- Pre-Flash Preparation: Ensure screens are off-contact by 1/16 inch to prevent ink buildup. Use a flash-cure additive in your ink to speed gelling when humidity exceeds 60%.
- Exposure Timing: For standard plastisol on 100% cotton, flash for 8-10 seconds at 280°F. Reduce the poly blend time to 6 seconds to avoid dye migration.
- Positioning: Center the flash unit 4-6 inches above the print for uniform coverage. Rotate the platen slightly if your unit has blind spots.
- Post-Flash Check: Immediately screen the next color. If the previous layer shifts, increase flash time by 2 seconds.
In practice, these steps shave minutes off per-shirt production. For a 12-color job on 500 units, efficient flashing can cut cycle time by 20%, per benchmarks from the Specialty Graphic Imaging Association (SGIA).
Benefits and Challenges of Flash Curing
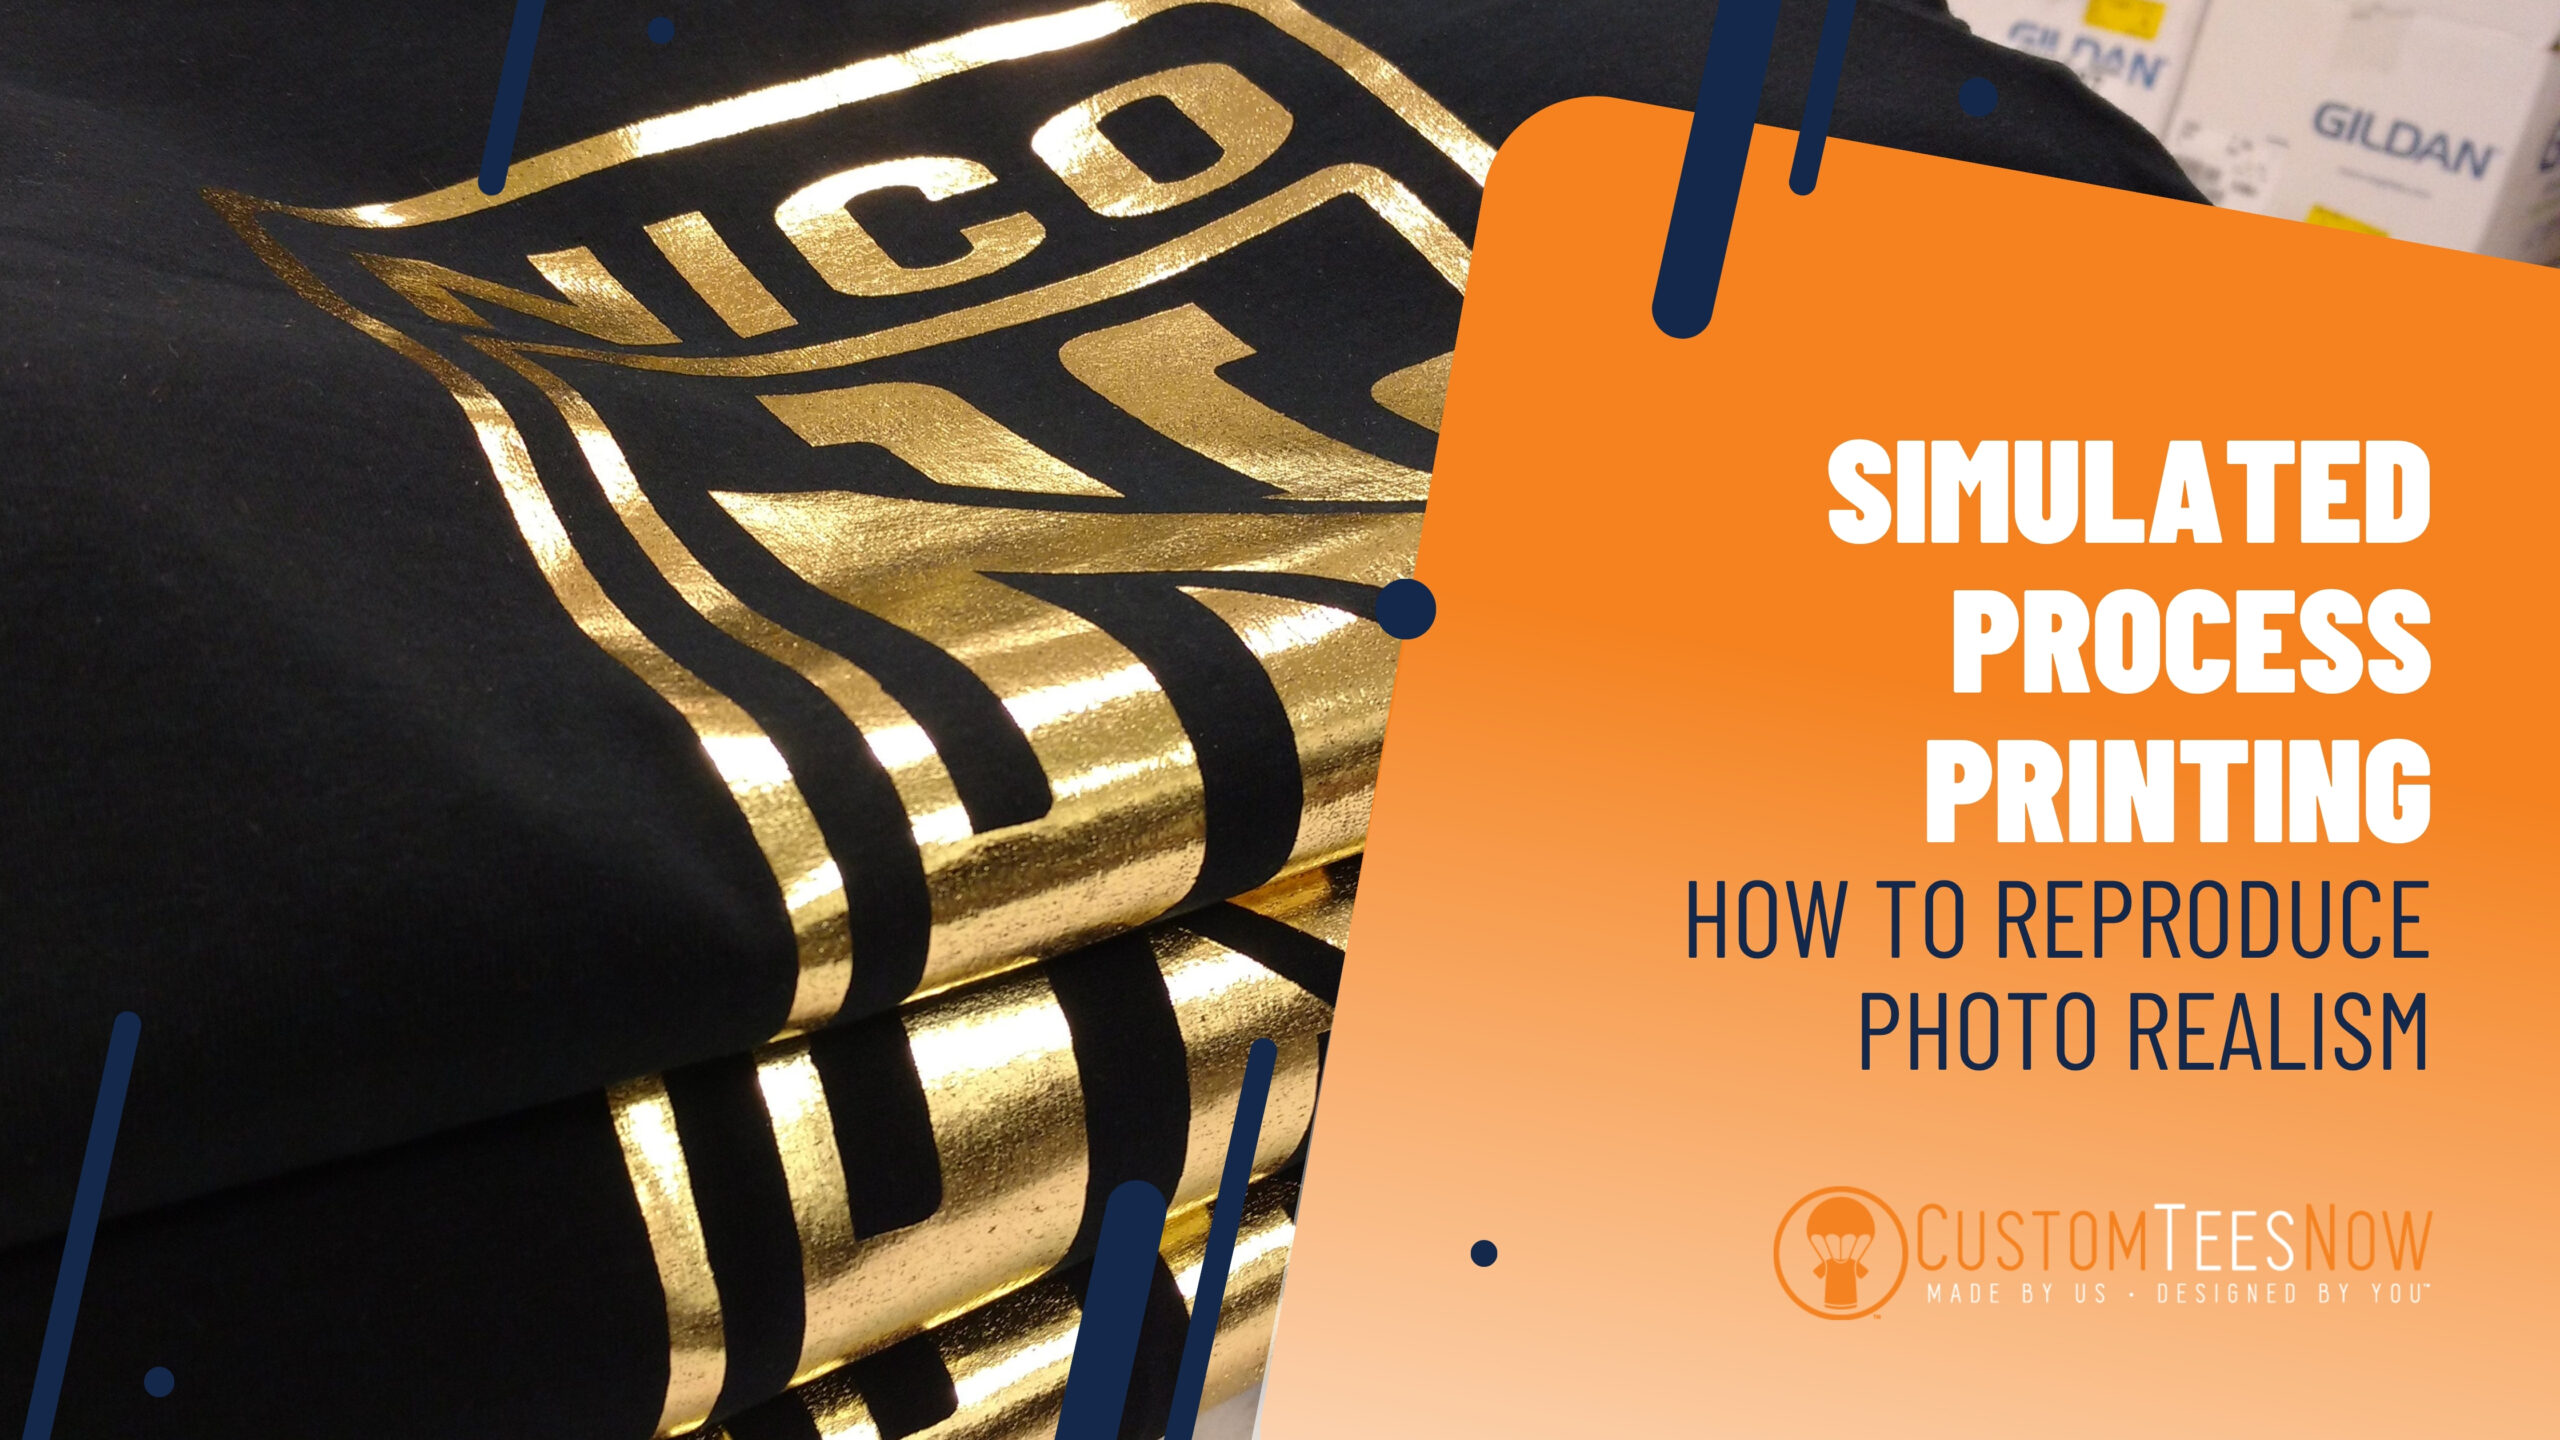
The advantages of mastering flash curing in t-shirt printing are clear: sharper details in layered designs, reduced misprints, and versatility across substrates. It’s indispensable for specialty effects like metallics or glow-in-the-dark inks, where full curing mid-process would ruin the magic.
However, challenges abound. Energy costs for frequent flashing add up—expect $0.05-0.10 per flash in electricity. Overexposure risks “chalking,” where the ink surface dries too hard and cracks on stretch. To mitigate, maintain unit cleanliness; dust buildup reduces output by 15%. For advanced troubleshooting and case studies, refer to Screen Printing Magazine.
Table: Recommended Flash Curing Parameters by Ink Type
| Plastisol | 260-280 | 5-10 | Cotton/Poly Blends | Standard for most jobs; test for thickness. |
| Water-Based | 300-320 | 10-15 | 100% Cotton | Higher heat evaporates water fully. |
| Discharge | 250-270 | 8-12 | Pigment-Dyed Cotton | Avoid overexposure to prevent fabric weakening. |
| High-Density | 280-300 | 12-15 | Athletic Wear | Thicker builds need extended time for penetration. |
This table serves as a quick reference for dialing in your parameters, ensuring t-shirt flash curing techniques align with your materials.
By honing these skills, you’ll transform multi-color nightmares into seamless successes, positioning your prints as premium offerings.
Achieving Perfection with Final Curing Techniques for T-Shirts
While flash curing keeps things moving, final curing techniques for t-shirts are where the magic solidifies—literally. This stage fully bonds the ink to the fabric, creating prints that endure life’s rigors, from spin cycles to sun exposure.
The Role of Final Curing in Print Durability
Final curing applies sustained, lower-intensity heat (typically 320-350°F for 60-180 seconds) to complete polymerization. For plastisol, the ink fully melts, embedding it into the fibers. In DTG printing, water-based inks are fixed via evaporation and cross-linking, preserving hand-feel.
Without it, even perfectly flashed layers fail: inks remain semi-cured, prone to cracking under tension. Industry standards, like those from ASTM International, mandate at least 90% ink adhesion post-curing, verified via tape tests. For regulatory compliance resources, visit the PRINTING United Alliance Standards Portal.
Common Final Curing Methods
Several t-shirt final curing methods suit different shop scales, from manual to automated.
- Conveyor Dryers: The gold standard for volume production. Infrared or gas-powered belts move shirts through a heated chamber at controlled speeds (e.g., 6 feet per minute for 100 shirts/hour). Pros: Even heating; cons: High upfront cost ($5,000+).
- Heat Presses: Ideal for small runs or spot-curing. Apply 340°F for 90 seconds under firm pressure. Versatile for oversized prints but labor-intensive.
- Batch Ovens: Cabinet-style for low-volume, multi-garment curing. Set at 330°F for 2-3 minutes; great for irregular shapes like hoodies.
- Flash Units (Extended): For emergencies, extend flash time to 30+ seconds, though unevenness is a risk.
Choose based on throughput: Conveyor for 1,000+ units; presses for prototypes.
Best Practices for Effective Final Curing
To maximize final curing techniques, follow these protocols:
- Temperature Profiling: Use an infrared thermometer to map heat zones. Aim for a 10°F variance max across the curing area.
- Dwell Time Calculation: Formula: Time (seconds) = (Ink Thickness in mils × 10) + Base (60). For a 20-mil deposit, cure 200 seconds.
- Humidity Control: Keep shop RH below 50% to prevent condensation, which dilutes heat transfer.
- Post-Cure Inspection: Perform a wash test on samples: 10 cycles at 140°F, then check for <5% color loss.
Troubleshooting is key. Uneven curing? Check belt tension. Fading? Increase temp by 10°F. Over-curing (stiff hand)? Shorten dwell by 15 seconds. Ready to bring your multi-color vision to life? Start designing with our online design tool.
Innovations in Final Curing
Emerging tech like UV-hybrid curing combines heat and light for faster cycles (under 30 seconds) and more eco-friendly outputs, reducing energy use by 40%. For sustainable shops, low-temp water-based systems cure at 250°F, preserving fabric integrity.
Mastering these ensures your screen printing final curing yields pro-grade results, ready for retail racks.
Flash Curing vs. Final Curing: A Head-to-Head Comparison
To integrate flash curing and final curing techniques for t-shirts seamlessly, understanding their interplay is vital. Flash is the sprinter—quick and preparatory—while final is the marathoner, ensuring endurance.
Key Differences at a Glance
Both rely on heat, but their goals diverge: Flash gels the surface; final fuses the core.
| Purpose | Partial dry for overprinting | Full polymerization for adhesion |
| Temperature | 260-300°F | 320-350°F |
| Duration | 5-15 seconds | 60-180 seconds |
| Equipment | Overhead IR/quartz units | Conveyor dryers/heat presses |
| Best For | Multi-color layers | Single/final prints |
| Risks | Over-gel (cracking) | Under-cure (peeling) |
| Energy Use | High per flash (intermittent) | Moderate (continuous) |
This comparison highlights why flash precedes final in most workflows: It prevents issues, letting final shine.
In hybrid setups, flash 80% of layers, then final-cure the stack for balanced efficiency.
Advanced Tips for Integrating Flash and Final Curing in Your Workflow
Elevating beyond basics? Advanced t-shirt curing techniques blend flash and final with innovation.
Optimization Strategies
- Automation Sync: Link flash timers to press cycles via PLC controls for hands-free operation.
- Ink-Specific Tweaks: For metallics, flash cooler (250°F) to retain shimmer; final hotter for lock-in.
- Quality Assurance: Implement ISO 9001 checklists; cure samples weekly and track adhesion via crockmeter tests.
Safety and Sustainability
Prioritize ventilation—plastisol fumes can exceed OSHA limits. Opt for low-VOC inks to cut emissions by 50%. Energy audits reveal savings: LED-reflector flashes drop usage 25%.
For eco-conscious clients, highlight cured prints’ recyclability—fully bonded inks don’t leach during processing.
Troubleshoot holistically: If final curing fails post-flash, revisit flash temps; imbalances cascade.
These tips transform curing from a chore into a competitive edge, helping you scale your shop sustainably. Looking to expand beyond t-shirts? Discover durable print options on our custom hoodies page.
Conclusion: Cure Your Way to Custom T-Shirt Success
We’ve journeyed through the essentials of flash curing and final curing techniques for t-shirts, from foundational science to pro-level hacks. Flash curing enables precise layering, whereas final curing ensures longevity—ultimately, they combine to craft indestructible designs that wow.
At Custom Tees Now, we leverage these methods daily to deliver fade-proof, vibrant apparel tailored to your vision. Ready to see them in action? Upload your design today for a free proof and fast turnaround. Whether it’s event tees or branded merch, let’s come up with something extraordinary.
FAQs
What’s the difference between flash curing and final curing? Flash curing partially gels ink (5–15 seconds at 260–300°F) to enable layering without smearing. Final curing fully polymerizes ink (60–180 seconds at 320–350°F) for wash-fast durability.
Can I skip flash curing for single-color prints? Yes. Single-color jobs go straight to final curing after printing, saving time and energy.
Why do my prints crack after washing? Under-curing is the culprit. Verify conveyor dwell time or press temperature; test samples with 10 wash cycles.
What equipment do I need to start? A basic setup includes a quartz flash unit ($500–$1,500) and a conveyor dryer or heat press for final curing. Scale up as volume grows.
How do I prevent dye migration on polyester? Use low-bleed inks, flash at 250–270°F for 6 seconds, and final cure at 330°F max to avoid sublimation.
Is curing different for water-based inks? Yes—higher heat (300–320°F) and a longer dwell (90–120 seconds) fully evaporate water while preserving a soft hand-feel.
How can I test if ink is fully cured? Perform a stretch test (100% elongation) and wash test (10 cycles at 140°F). No cracking or >5% fade = success.


