- October 27, 2025
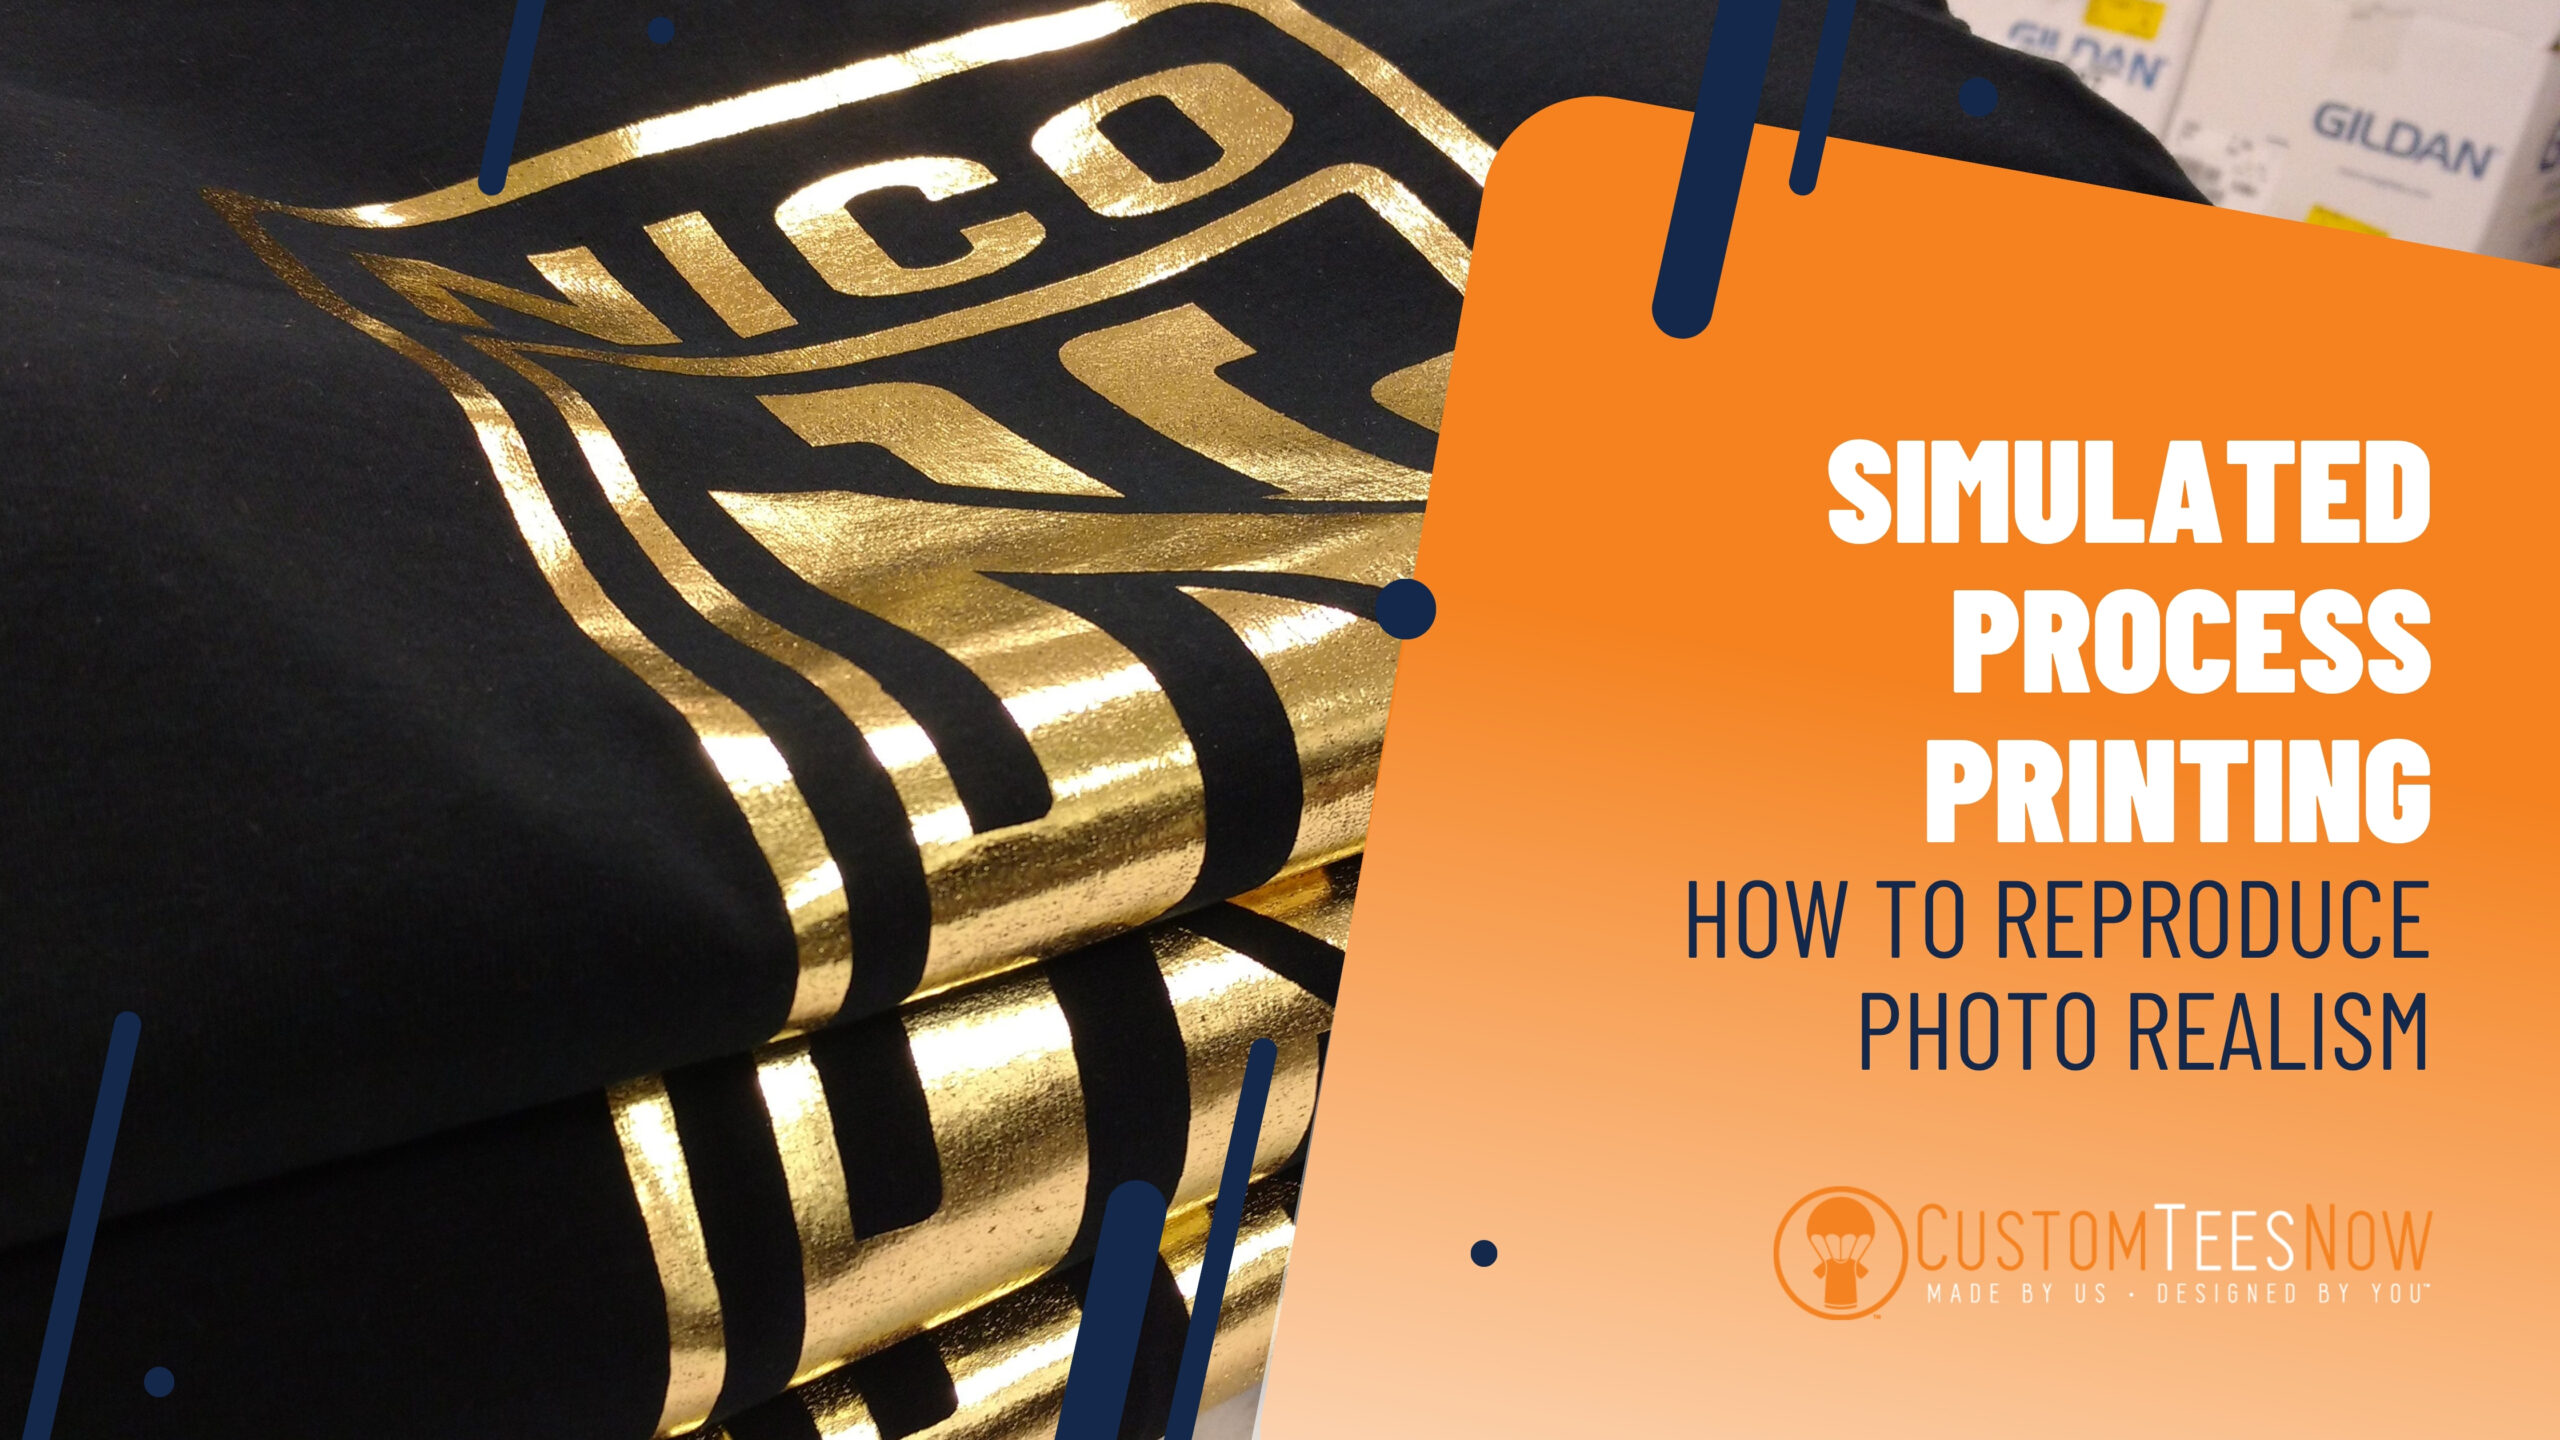
Simulated Process Printing: How to Reproduce Photo Realism
In the competitive world of custom apparel, achieving photorealistic designs on t-shirts demands precision, artistry, and advanced techniques. Simulated process printing is the gold standard for reproducing intricate photographs, gradients, and lifelike images on fabric through screen printing. Unlike basic spot-color methods, this approach blends halftone dots and strategic color layering to mimic continuous-tone imagery, captivating audiences with stunning detail.
At Custom Tees Now in Naples, FL, we master simulated process screen printing to transform client photos—family portraits, landscapes, or product shots—into wearable art that rivals digital prints. With the custom t-shirt market poised to reach $12 billion by 2027, demand for photo-realistic t-shirt printing is surging 38% annually. Searches for “simulated process printing guide” and “how to print photos on shirts” reflect this trend, signaling opportunities for printers who deliver gallery-quality results.
This exhaustive guide demystifies simulated process printing techniques, from color separation to press setup. Whether you’re a seasoned screen printer elevating your craft or a brand seeking hyper-realistic merch, you’ll gain actionable strategies to produce vibrant, durable designs. We’ll cover the science, tools, and troubleshooting—plus a comparison table—to help you achieve professional outcomes. Ready to turn photos into apparel? Explore our custom t-shirt printing services for simulated process options. Let’s unlock the secrets behind reproducing photo realism on apparel.
The Evolution and Importance of Simulated Process Printing
Before exploring how simulated process printing works, understand its roots. Traditional spot-color printing uses solid Pantone inks for logos but fails with photographs, which require thousands of shades. Four-color process (CMYK) printing adapts offset techniques to screens but often yields muddy results on absorbent fabrics due to ink bleed and dot gain.
Simulated process printing evolved in the 1980s as a hybrid solution. It extends beyond CMYK by incorporating spot colors (e.g., vibrant reds and deep blacks) and halftones to simulate continuous tones. Printers like those at T-Shirt Forums pioneered multi-channel separations, enabling 6–10 colors for superior depth on dark garments.
Why invest in this method?
- Photorealism: Captures skin tones, shadows, and highlights with nuance.
- Versatility: Excels on light and dark shirts, unlike the standard process.
- Durability: Inks cure fully, enduring 60+ washes without cracking.
- Market Edge: Commands premium pricing—clients pay 20–30% more for realism.
A 2024 SGIA study found 42% of high-end apparel brands prefer a simulated process for its fidelity. Mastering it positions your shop as a leader in photo-realistic custom t-shirts. For software insights on separation, check out Separation Studio.
Understanding the Core Principles of Simulated Process Printing
Simulated process printing relies on optical mixing: the eye blends tiny halftone dots of different colors to perceive smooth gradients. Unlike CMYK’s subtractive model, it uses additive principles with expanded palettes.
Key Components
- Halftone Dots: Vary in size (AM) or frequency (FM/stochastic) to create shades. Line counts range from 45–65 lpi on garments to avoid moiré.
- Color Channels: Typically 6–10, including CMYK, light cyan/magenta, spot colors (e.g., orange, green), and underbase white.
- Underbase: A white ink layer on dark fabrics ensures opacity and vibrancy.
- Angle Optimization: Screens at 22.5° intervals prevent rosettes.
The magic lies in the separation software that translates RGB photos into print-ready channels. Tools analyze image histograms to assign colors, balancing detail and ink load.
For example, a portrait might use:
- Cyan for cool shadows
- Magenta for skin warmth
- Yellow for highlights
- Black for contrast
- Spot red for lips
- Gray for midtones
This layered approach reproduces photo realism in screen printing with astonishing accuracy.
Step-by-Step: How to Execute Simulated Process Printing
Implementing simulated process printing demands meticulous planning. Follow this workflow for flawless results.
1. Image Preparation and Selection
Start with high-resolution photos (300+ DPI at print size). Avoid compressed JPEGs—use RAW or TIFF for detail retention.
Enhance in Photoshop:
- Adjust curves for contrast.
- Sharpen selectively.
- Convert to CMYK + spots.
Ideal images have a broad tonal range but avoid extreme highlights/shadows, which challenge halftones. Upload your photo via our online design tool for a quick preview.
2. Color Separation
Use software like Separation Studio or UltraSeps to generate channels.
Process:
- Auto-separate into base CMYK.
- Add spot channels for dominant hues (e.g., blue sky = custom mix).
- Create an underbase from composite black.
- Apply choke/spread (0.5–1 pt) to trap colors.
Output positive films or direct-to-screen files at correct angles.
3. Screen Preparation
Coat 110–156 mesh screens with emulsion. Higher meshes suit finer dots but require thinner inks.
Exposure times: 35–50 seconds under LED units. Test for stencil durability—undercut causes dot loss.
4. Ink Mixing and Formulation
Match Pantone shades precisely. Use high-opacity plastisol for darks; water-based for soft hand on lights.
Additives:
- Reducer for flow (5–10%).
- Curable reducer for halftone stability.
Viscosity: 20,000–30,000 cps for clean release.
5. Press Setup and Registration
Mount screens on a manual or automatic press with micro-registration.
Sequence:
- Flash white underbase
- CMYK layers
- Spot colors
- Highlight white (optional)
Off-contact: 1/8 inch. Squeegee pressure: 45–60 psi.
6. Printing and Flashing
Print wet-on-wet where possible, flashing (160–180°F, 3–5 seconds) between colors to prevent smearing. Maintain 30–40% humidity to control dot gain.
7. Curing
Conveyor dryer at 320°F for 90–120 seconds. Verify with temperature strips—under-curing causes washout.
Post-print, stretch-test samples to confirm adhesion.
Essential Tools and Software for Simulated Process Success
Equip your shop with:
- Separation Software: AccuRIP Black Pearl, Separation Studio ($500–$1,500).
- RIP Software: For film output and angle control.
- High-Mesh Screens: 156–230 for details.
- Automatic Press: M&R or ROQ for registration accuracy. Explore presses at M&R Printing Equipment.
- Spectrophotometer: X-Rite i1 for color matching.
Investing $5,000–$15,000 yields ROI through premium jobs.
Best Practices for Achieving Photo Realism
Elevate simulated process t-shirt printing with these pro tips:
- Garment Selection: Ring-spun cotton minimizes fibrillation. Pre-shrink darks to avoid distortion.
- Underbase Mastery: Print at 45 lpi, flash to 50% gel for opacity without stiffness.
- Dot Gain Compensation: Increase halftone frequency by 10% in separations.
- Test Prints: Always proof on actual shirts—fabric affects tone dramatically.
For skin tones, use a “flesh” spot color (Pantone 467 + 10% magenta) to avoid CMYK muddiness. See fabric options on our custom hoodies page.
Table: Recommended Color Channels by Image Type
| Portraits | CMYK + Gray | Flesh, Deep Red | 6–7 | Skin tones |
| Landscapes | CMYK | Green, Blue | 6 | Nature |
| Product Shots | CMYK + White | Orange, Metallic | 7–8 | Branding |
| Abstract Art | CMYK | Violet, Gold | 5–6 | Creativity |
This framework ensures photo-realistic results tailored to content.
Common Challenges and Troubleshooting
Even experts face hurdles in simulated process printing:
- Moiré Patterns: Adjust angles (e.g., yellow at 7.5°). Use stochastic screens.
- Dot Gain on Darks: Lower ink volume; use higher mesh (180+).
- Fading After Wash: Increase cure time/temp; add catalyst to ink.
- Registration Shift: Lock platens; use adhesive spray.
Document job settings to refine future runs. For ink resources, visit International Coatings.
Simulated Process vs. Other Methods: A Comparison
Understand trade-offs with this table:
| Colors | 6–10 | 4 | Unlimited |
| Detail Level | High (halftones) | Moderate | Highest |
| Dark Garments | Excellent (underbase) | Poor | Good (pre-treat) |
| Setup Cost | High (screens) | Medium | Low |
| Min. Order | 50+ | 100+ | 1 |
| Hand Feel | Medium | Stiff | Soft |
Simulated process wins for mid-volume photorealism on any color shirt.
Advanced Techniques for Next-Level Realism
Push boundaries with:
- High-Density Inks: Raise elements for texture.
- Metallic/Shimmer Spots: Add a touch of luxury to highlights.
- Discharge Underbase: Soften hand on darks.
- Hybrid with DTG: Print base, overprint simulated details.
These elevate custom photo t-shirts to art pieces. Experiment with custom tote bags for variety.
Future Trends in Simulated Process Printing
Automation via DTS (direct-to-screen) systems cuts film costs by 70%. AI-driven separations optimize channels instantly. Eco-plastisols reduce VOCs while maintaining opacity.
Expect simulated process to dominate premium merch as brands demand authenticity.
Conclusion: Master Photo Realism with Simulated Process Printing
From color theory to press execution, simulated process printing empowers you to reproduce photo realism on t-shirts with breathtaking fidelity. This method isn’t just a technique—it’s craftsmanship that turns memories into merchandise.
At Custom Tees Now, we bring your photos to life with simulated process expertise. Ready for photorealistic custom tees? Upload your image for a free proof and rapid production. Whether portraits or panoramas, let’s create wearable masterpieces.
FAQs
What is simulated process printing? A screen printing technique using 6–10 halftone colors + spot inks to mimic photorealistic images. It blends dots optically for gradients and details unmatched by standard CMYK.
How many screens are needed? Typically 6–8: underbase white, CMYK, 1–3 spot colors (e.g., flesh, green), and optional highlight white. More channels = richer realism.
Can it print on dark shirts? Yes—excellent. A flashed white underbase ensures vibrant overlays, unlike four-color process, which appears dull on black/navy.
What file format should I submit? High-res (300 DPI) PSD or TIFF with layers. Avoid JPEG compression. Our design tool accepts uploads for instant proofing.
How durable are the prints? 60+ washes with proper curing (320°F, 90–120 sec). Plastisol inks bond permanently; stretch-tested for cracking resistance.
Simulated process vs. DTG—which is better? Simulated: mid-volume (50+), softer cost, bolder on darks. DTG: 1–25 units, softer hand, unlimited colors. We recommend simulating events/merch.
Ready for gallery-quality photo tees? Start your order at Custom Tees Now.